Cracked plastic
Written by Ben
Last updated on 2008-01-03
Problem
There's a crack in a plastic part of your water gun. These cracks usually form due to stress from pressure and therefore are more common in pressure modified water guns.
Solution
The solution is to seal the crack shut and prevent cracks from forming again. Little can be done to prevent this problem from occurring again aside from reducing a power modification such as the K-mod or Colossus. If your water gun was not modified, nothing can be done to prevent it from happening again really unless you reinforce the internals by covering them in epoxy.
I had to perform this repair on my CPS 2700, which is notorious today for developing pressure cracks when it is K-modded due to the thin plastic construction of the valve. However, this was not known back when I performed this modification (late 2003), so I actually was one of the first (if not the first) to find that out, sadly. When the crack developed, you could hear a loud snap followed by water gushing out of the crack. It was rather unexpected in honesty.
The materials you will need for this repair are clamps, putty epoxy or regular epoxy (putty epoxy works best, but I did not use it), and coarse sandpaper. Do not use PVC cement to repair cracks like this. It will not do anything. Epoxy putty (also known as plumber's epoxy or plumber's putty) is the best for things like this because it has a volume. You can fill things in with it better than just epoxy.
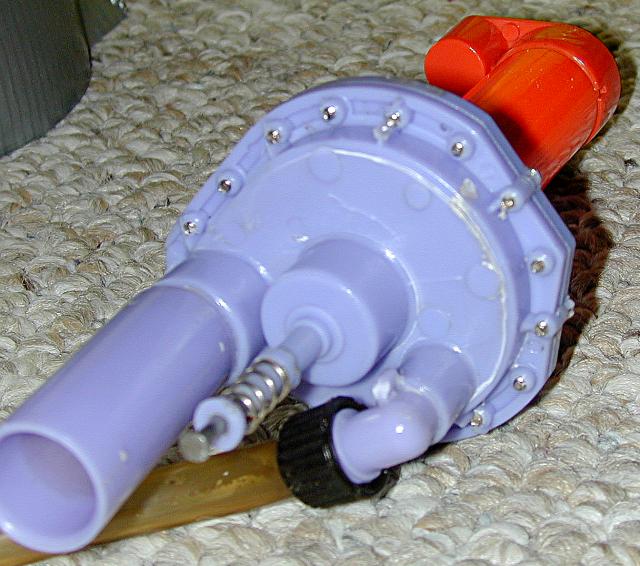
The image above shows the crack from one angle.
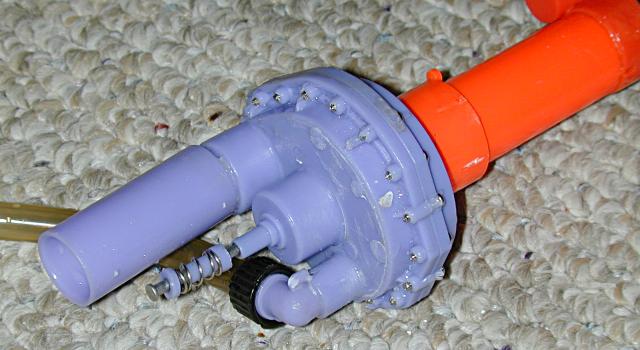
Open the valve by removing all of the screws. Put the screws in a safe place like a cup. Watch out to make sure the rubber seal isn't lost too. Put that in the cup as well. If you lose the rubber seal, you'll have to make another or epoxy the valve shut.
Be careful when working with firing valves. It has been reported that if you pull the pin in the firing valve back too far, the valve won't close completely any longer.
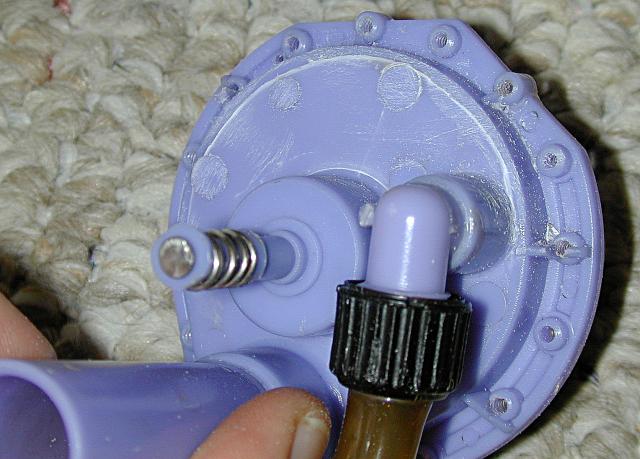
This photo above has a similar angle, but I roughed up the crack with sandpaper to make the epoxy bond better.
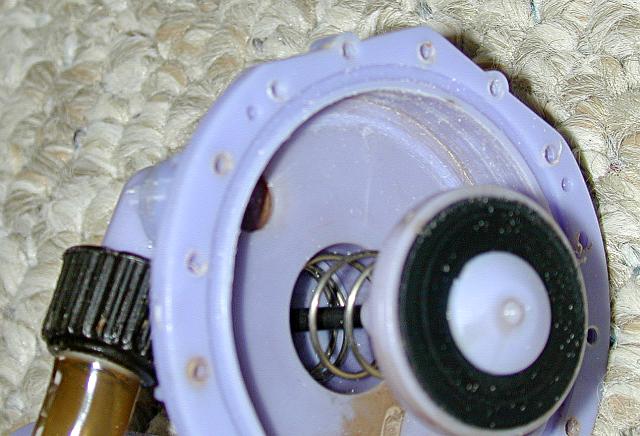
This shows the crack from the inside. I also roughed up the inside because I will use epoxy there as well.
Apply epoxy or epoxy putty to the inside and outside of the crack. Again, epoxy putty works better because it can really fill up the area around the crack. If you are using epoxy, try to get some inside of the crack itself to seal the crack. If you are using epoxy putty, because the stuff is a putty you can't really get it in the crack, but you can get it over the crack, sealing the crack off. Do that on both sides. If you are using epoxy putty, it might be smart to epoxy the crack first, let that dry, and then apply epoxy putty, for the best repair.
Let the epoxy or epoxy putty set for the time recommended on the package.
Closing the valve can be a challenge. You have to put the seal in, close the valve, and then keep it shut to put the screws in. I used some clamps to keep it shut while I put the screws back.
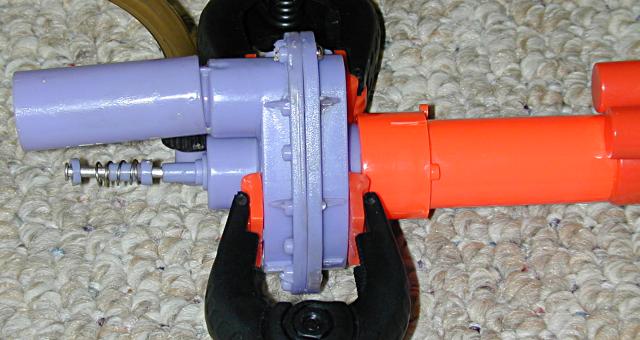
Here's the valve after it was repaired. Sadly, this repair did not last long. The crack reopened a few weeks later. Epoxy alone may not be enough in some repairs. I can't recommend epoxy putty enough because it has a volume, which can go over things.
If you need help, have questions, or can provide some experience or pictures about this modification, let us know at the repair forum.